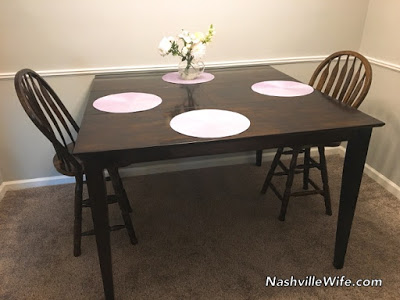
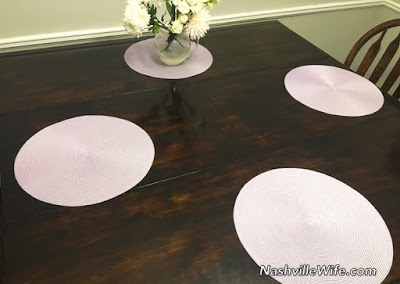
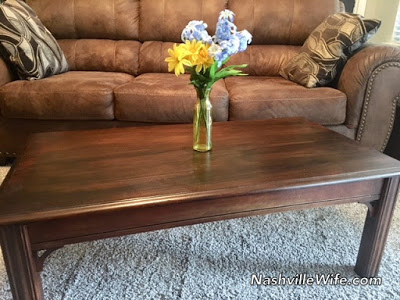
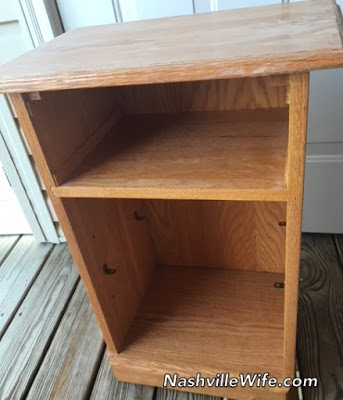
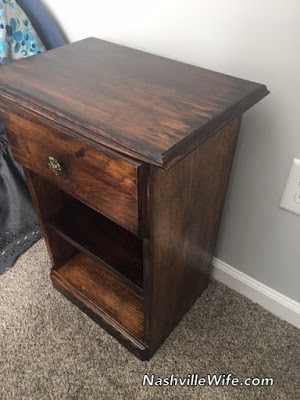
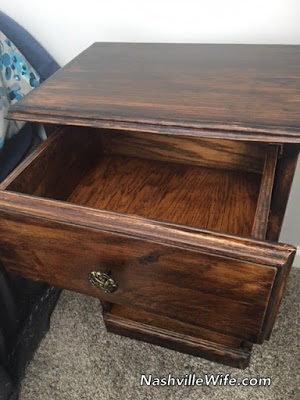
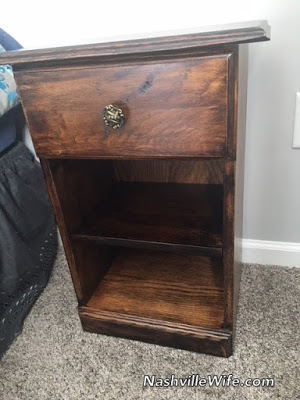
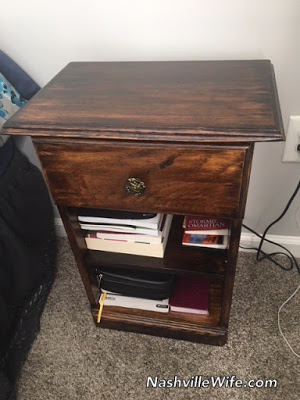
After nearly four months, I am nearing the end of my many furniture refinishing projects. So far, I have shared photos of my coffee table, the post for which doubles as a general tutorial, as well as the nightstand and bookshelf that Mr. Handsome built.Last week, I completed our dining table, and a few days ago, I finished the third chair, out of four.
Projects
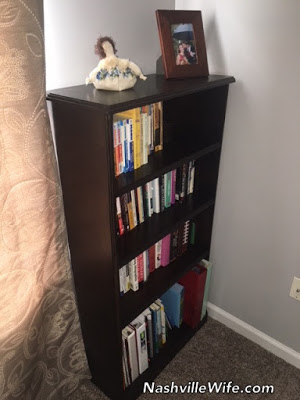
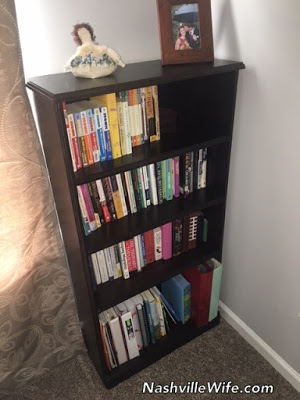
Mr. Handsome’s Bookshelf
We had an unexpected cold snap in late January and early February, so I worked on the furniture indoors and then hauled it out to our heated shed to allow it to dry. But by the second week of February, the weather had turned unusually warm, with a few days hitting 80F (26C), so I was able to do the bulk of the work outdoors.
My second project was a nightstand that Mr. Handsome made in high school wood shop class.
After refinishing a small entertainment stand that I purchased on Facebook Marketplace for $25, I finally felt skilled enough to tackle our dining room table (pictures coming soon). Now I’m working my way through our four dining chairs, which are bar stool height and have curved backs that make them quite challenging to sand and stain. I also have a couple other pieces that I’m hoping to refinish, including an end table and a stool.
You might remember my post about the free bookshelf I received from Mr. Handsome’s aunt in 2015. It has served us well for two and a half years, but our ever-expanding book collection has outgrown it. I spent quite a bit of time searching for a solid wood bookshelf that I could refinish, but I couldn’t find anything that worked.
For Valentine’s Day, my wonderful Mr. Handsome offered to make me a bookshelf! He constructed the entire thing, complete with routed edges, using two slabs of wood that we purchased from a wood supplier. The shelf took the better part of two days to build, and when it was finished, I did the staining, using the same method and materials explained in my coffee table post.
Mr. Handsome plans to write up a tutorial for his DIY bookshelf, but I wanted to give you a sneak peek.
Refinishing Furniture: Coffee Table
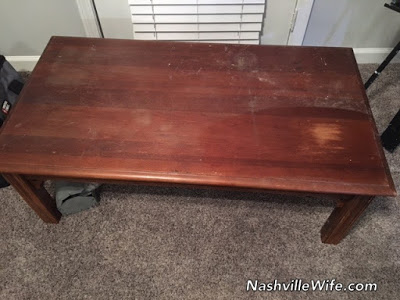
Last summer, my sister-in-law (the one who married Mr. Handsome’s youngest brother one year ago) found an amazing deal at Goodwill: a large, solid wood coffee table for $8. It was an ugly, faded red color and was quite beat up, but the price was right, so she bought it with plans to refinish it.
A few days later, they were preparing to host four guests in their tiny, one-bedroom apartment, so my brother-in-law dropped the table off at our house. He said it was temporary, but I think he secretly hoped it would never make its way back to their place. (He’s a bit of a minimalist.)
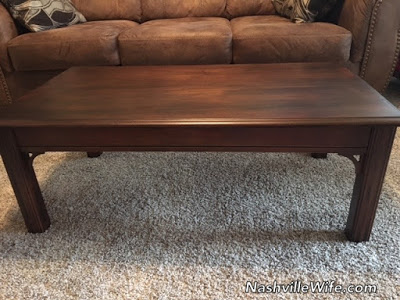
Fast-forward to last week. It had been seven months, and the coffee table was still with us. (It lived under our covered back porch because it was just too ugly for me to allow it inside.) I looked at it one day and decided that it had been at our home long enough that it was officially ours. We didn’t have a coffee table, so I set to work fixing it up.
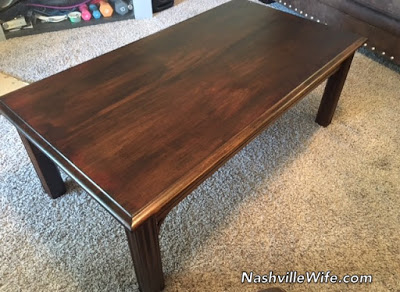
I’ll admit that this was my first furniture refinishing project. Before getting started, I read articles online, spoke with a woodworker friend, and talked to the friendly folks at The Home Depot. The project took about 10 hours and a lot of elbow grease, but the finished product turned out better than I could have imagined. I also didn’t have to go to the gym for a week because sanding and applying stain and polyurethane was enough of a workout, so that was a plus!
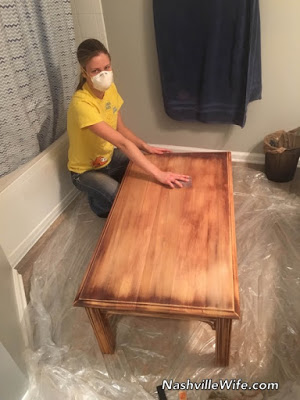
My first step was sanding the entire table with #80 sandpaper and then wiping all the sawdust away with a damp cloth. After the old finish was removed, I followed with #220 sandpaper and then wiped it down again. Below is what the table looked like when I was done. I was tempted to skip the stain and go right to the polyurethane, but I knew the light color wouldn’t match our decor.
When the table was completely dry, I applied Minwax Water Based Pre-Stain Wood Conditioner, according to the instructions on the can. The next step was the Minwax Wood Finish Penetrating Oil Based Stain (Dark Walnut 2716). I applied 2 coats, also according to the instructions on the can. The first was fairly thick because I wanted a nice, dark color, so I allowed it to dry for 24 hours. The second was thinner, so it only needed to dry for 6 hours.
The last step was the Minwax Fast-Drying Polyurethane (Clear Satin), according to the instructions on the can. I applied 3 coats using foam brushes and waiting about 4 hours between each coat.
I was so pleased with the results that I went out and bought an inexpensive random orbital sander and started another refinishing project.
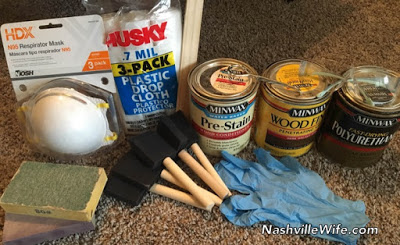
In addition to the above-mentioned sandpaper, conditioner, stain, and polyurethane, I used plastic drop cloths, a mask and gloves specifically for strong chemicals, eye protection, a paint can opener, a paint stir stick, and several foam brushes in different sizes (for best results, use a new one for every step). You’ll also want to wear old clothes that you don’t care about.
Burlap Christmas Wreath Tutorial
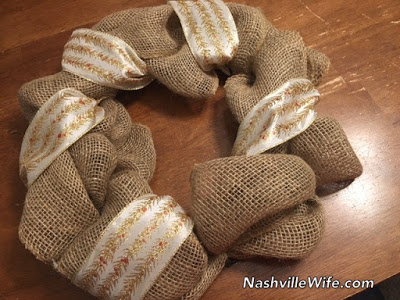
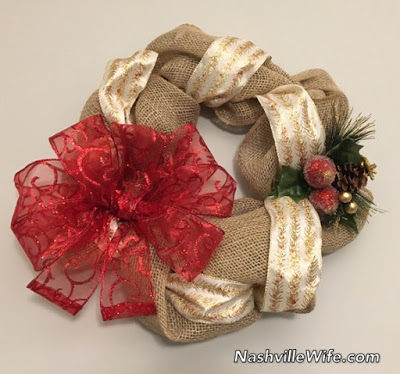
As promised, I have written up my Christmas wreath tutorial. Whether you’re looking for a holiday craft to do with friends, homemade gift ideas, or a decoration to “spruce up” (no pun intended) your front door, you’re going to love this tutorial.
Just take it slow on your first try, and you’ll find that these wreaths are far from difficult to make. If you run into a problem, you can always remove the wire, burlap, and ribbon and start over. Even if you do this craft with several other people and all use the same materials, each person’s wreath will be uniquely different.
Materials:
12-inch wire wreath form
15 feet of 5.5-inch-wide burlap ribbon (not wire-edged)
Wire-edged accent ribbon* (2 or 2.5-inch wide is ideal)
Floral wire
Wire cutters
Wire-edged ribbon for bow (2 or 2.5 inch-wide is ideal)
Embellishments for your wreath (optional)**
Glue gun
Wreath hanger
*You can use as little or as much accent ribbon as you desire, but you likely won’t need anywhere near a full roll.
**Ideas for embellishments include pine cones, ornaments, garland, artificial cranberries, and artificial greenery. Most craft stores have tons of options in their Christmas section. Hobby Lobby has an entire aisle devoted to such items.
Instructions:
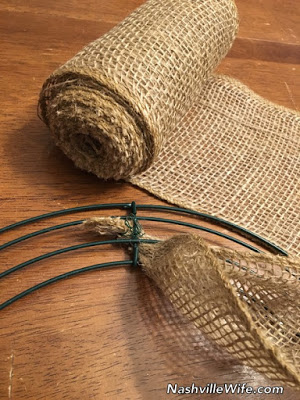
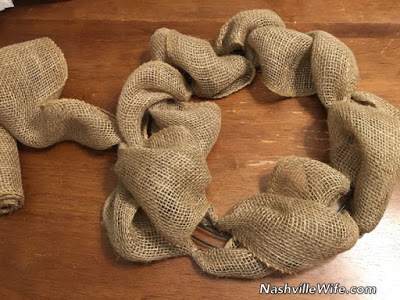
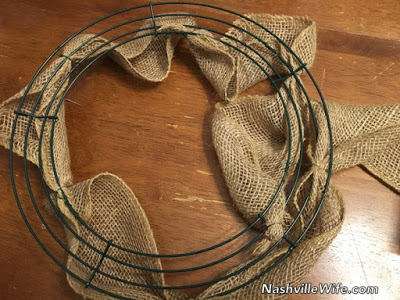
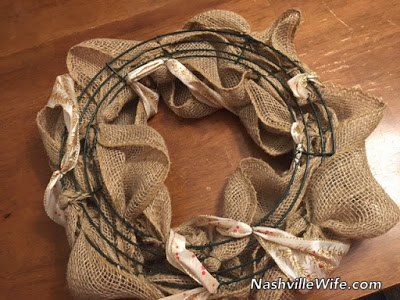
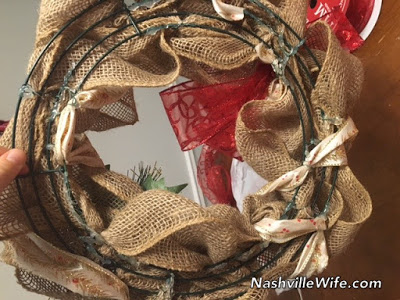
Use a piece of floral wire to securely anchor the end of your burlap ribbon to the wire wreath form.
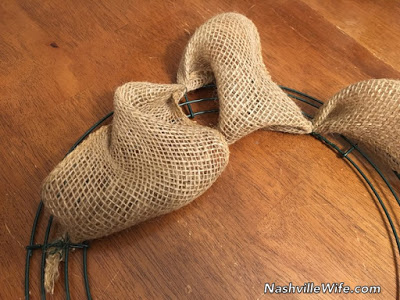
Leaving excess burlap, secure burlap with another piece of floral wire 3 to 5 inches from the first one.
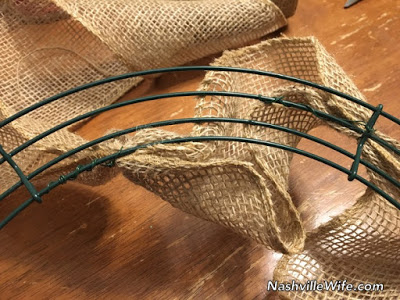
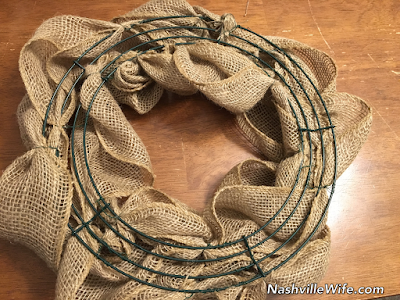
As you go along, be sure to wrap the wire tightly around the burlap, and then wrap any excess wire along the back of the wreath form.
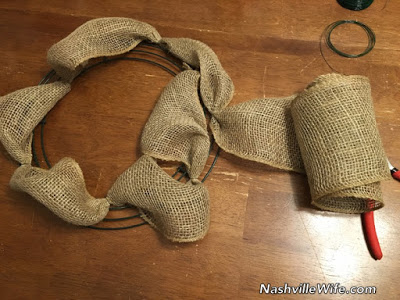
Continue once around the wreath form. Feel free to vary the distance between the wire pieces or keep the distance the same throughout. It’s entirely up to you. There’s no wrong way to make a burlap wreath.
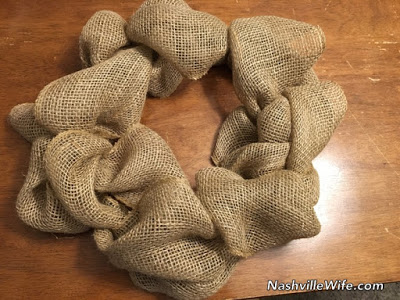
Once you have gone around one full time, go around a second time to fill it out.
If you think your wreath needs more burlap, feel free to go around a third time.
When you’re done, securely anchor the end of the burlap to the wreath form with a piece of wire.
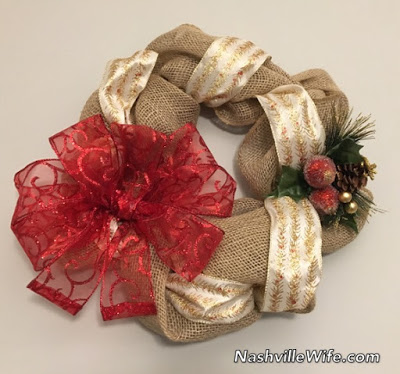
Do the same thing with your accent ribbon. Remember, you can use as much or as little as you want, depending on the look you are going for. You can wrap in the ribbon in the same direction as the burlap, or you can wrap it as I have done below:
Be sure to secure your ribbon to the wreath form with pieces of wire.
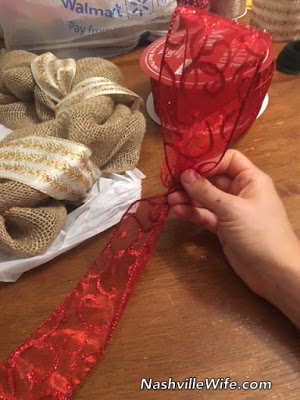
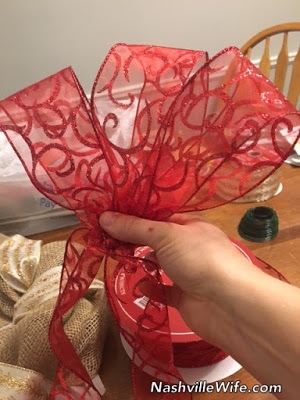
To make a bow, let out a piece of ribbon the length you want your tail to be, and then make a loop (making sure the design is facing out). Pinch the ribbon with your thumb and forefinger.
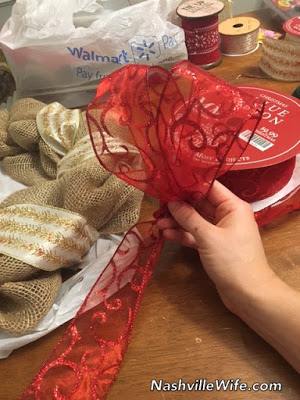
Twist the ribbon so the design is still facing out, make a second loop, and pinch the ribbon together.
Repeat for as many loops as you desire. I did six. When you’re finished, let out enough ribbon for the second tail, and cut. Use a piece of floral wire to tightly hold the center of the bow (where you have been pinching) together. If your bow doesn’t turn out the way you envisioned, don’t be afraid to start over. If you need more help, YouTube has tons of Christmas bow tutorials.
Add your embellishments. If they are on wire sticks, wrap the wire sticks around the back of the wreath form, and then secure with a long piece of floral wire. Secure your bow using floral wire. Next, you’ll want to heat up your glue gun and use glue to anchor the embellishments and bow (making sure the glue is not visible from the front).
When your wreath is finished, you’ll want to go over all the floral wire and burlap/ribbon ends with the glue gun. This will help keep them in place and ensure that the wire does not scratch the door or wall where you hang your wreath.
To keep the tails of the bow from fraying, I rolled the ends up just a bit and gently used a tiny dab of glue from the glue gun to keep them from unrolling.
Hang your finished product on the wall, or use a wreath hanger to hang it on a door.
Car Seat Ponchos
Over the holidays, we visited with lots of friends and family we hadn’t seen in a while. It was wonderful. On New Year’s Day, we had breakfast with a young mom who has two little girls and one on the way. She is a full-time mommy who also teaches music lessons.
As she was bundling her kids up to go home, she showed me the matching car seat ponchos she had sewn for them. I was intrigued, so she explained how they work. Hers are made of two layers of fleece, and she puts them on her children when they load up into a cold car. The ponchos fit nicely over car seats, and kids can easily remove them if they get too warm.
Pretty genius idea, isn’t it? This post isn’t an advertisement, but if you’re as intrigued as I was and would like one or more car seat ponchos (either for your own kiddos or for a gift) my friend would be more than willing to make them for you. She can make them with one or more layers, depending on the climate.
Mother’s Day Craft for Kids
Mother’s Day is less than one week away. Are you looking for a last-minute craft for your kiddos? If you are, you’ll love this post!
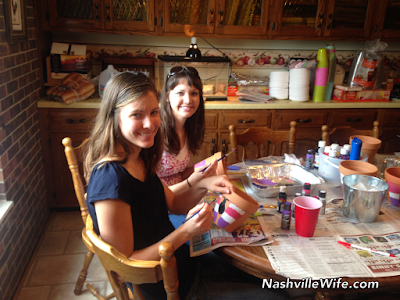
We don’t have any children (yet), but I helped my sister-in-law Anne with her Mother’s Day craft. (It’s supposed to be from her 21-month-old daughter Ana, but of course we ended up doing all the work.)
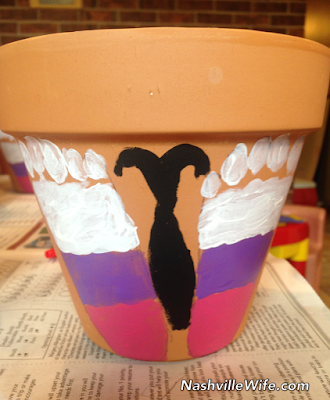
Anne found the idea on Pinterest, and I think it’s quite adorable. Kudos if you can get your child to sit still long enough to put paint on the bottoms of their feet and press their feet onto the flower pot. My niece wouldn’t have any part of that, so we made paper cutouts of Ana’s feet.
We positioned the cutouts on the flower pot and lightly traced them with a pencil. Then we used paint brushes and acrylic paint to fill them in and draw the butterfly’s body.
Once we finished the first flower pot, we spent a few moments admiring our handiwork and proceeded to make seven more. (In addition to her mom, Ana has two grandmothers, three great-grandmothers, and two great-great-grandmothers.)
The flower pots we used were seven inches tall, but you will want to measure your child’s feet before going to the store. This craft works for children of any age! (Click here to see the “grownup craft” that my husband made for our moms.)
No-Sew Fleece Blanket
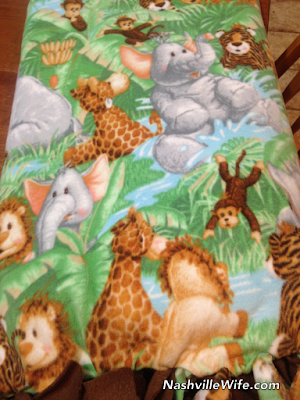
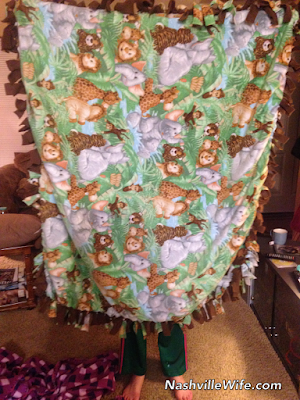
A couple weekends ago, I was invited to a friend’s baby shower. I checked her gift registry, but most of the items have been purchased, so I decided to do a homemade gift. After thinking it over, I came up with the perfect idea: a no-sew fleece blanket!I visited the fabric store and bought an adorable animal print pattern for one side of the blanket and a plain brown piece of fleece for the other side.
I made my blanket 1-1/2 yards, but looking back, I would have preferred it to be only one yard, as that would have been the perfect size for a car seat or stroller cover.
The general rule of thumb for no-sew blankets is…
Infant: 1 yard
Toddler/child: 1.5 yards
Teen/adult: 2 yards (or 2-1/2 for taller adults)
What do you think of the finished product? (The feet belong to Lena, my 13-year-old sister-in-law). The tutorial video that I followed is below.
How to Sew a Christmas Stocking
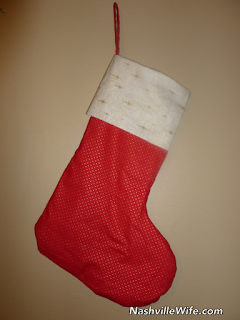 This year, my husband’s birthday fell during the week of Thanksgiving, so we were able to celebrate with family and friends
After a delicious breakfast of donuts and fruit, he and his father and two brothers played basketball at the local rec center. Later that afternoon, the two of us, along with four of his siblings, spent an hour shooting recurve bows at an indoor archery range.
That evening, Mr. Handsome, expecting a simple dinner with his parents and siblings, was shocked when three close friends from his college days and their wives walked through the front door and yelled “Surprise!”
My husband was speechless! He had mentioned a few months before that he missed spending time with these guys and would love to see them again, which gave my mother-in-law and me the idea for the surprise party. The three boys, who also happen to be brothers, come from a family of eight kids.
In addition to planning the reunion, I gave Mr. Handsome two gifts. The first was a set of CDs, which I purchased inexpensively on Amazon, for him to listen to in the car. Four of the CDs are a mix of Southern gospel and bluegrass music, and the other features songs from ThePianoGuys, a band that creates melodic, classical versions of popular hymns and other songs.
The second gift was a Christmas stocking (shown above), which I spent several hours sewing. For those who are interested, here is the tutorial I used:
Family Craft Day
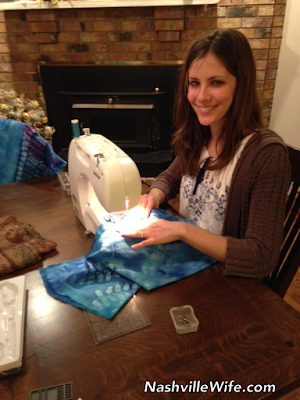
We initially had a crew of six seamstresses (Gram, my mother-in-law, three of Mr. Handsome’s sisters, and myself).
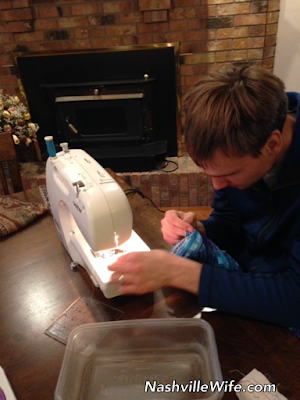
At the last minute, my sweet husband and his brother-in-law (the husband of his oldest sister, Anne) decided to join in on the fun. They were such troopers, and we couldn’t have done it without their help.
I must say that Mr. Handsome surprised me with his incredible sewing skills, and he kept us laughing with his one-liners.
“Things seem to be going pretty seamlessly.”
“Some of these needles are so dull, they’re pointless to use.”
“I’m a little nervous using this sewing machine; I feel like I’m on pins and needles.”
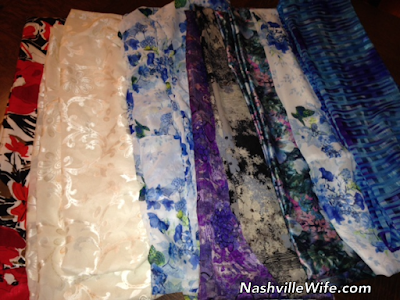
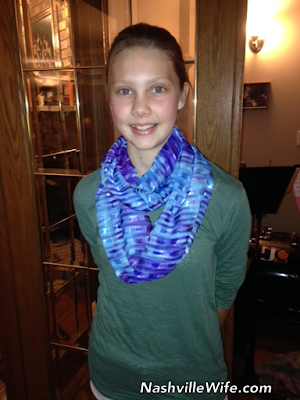
In five hours, we knocked out 30 infinity scarves, made of a variety of knit and cotton fabrics. (The YouTube tutorial we used is embedded below.)
My 12-year-old sister-in-law, Lena, offered to model one of the scarves.
‘Hooked On You’ Picture Frame
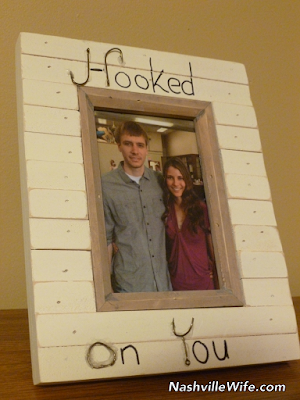
In addition to the phone, I wanted to give him something from the heart, so I purchased a wooden picture frame from Walmart and decorated it like so:
The first letter of each word is made of fishing hooks that were extremely difficult to bend. This is the perfect gift for fishing fanatics, although if you glue a few shells on, it can become a beach-themed frame.
