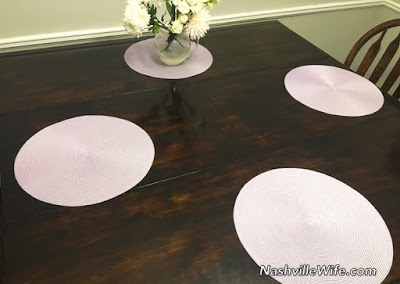
After nearly four months, I am nearing the end of my many furniture refinishing projects. So far, I have shared photos of my coffee table, the post for which doubles as a general tutorial, as well as the nightstand and bookshelf that Mr. Handsome built.Last week, I completed our dining table, and a few days ago, I finished the third chair, out of four.
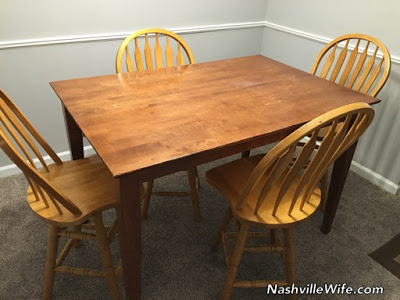
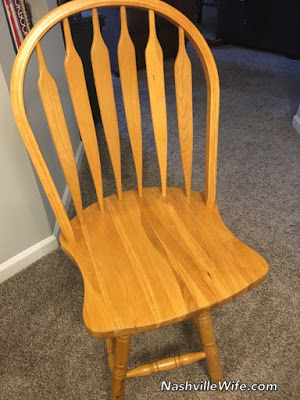
Before I began the project, the table and chairs were in desperate need of a new finish. I looked into buying a new set, but I couldn’t find any solid wood pieces for a decent price. Mr. Handsome purchased our set at a garage sale for $100 when he lived alone before we were married. New, it sells for more than $600.
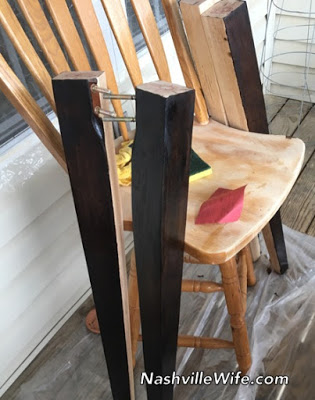
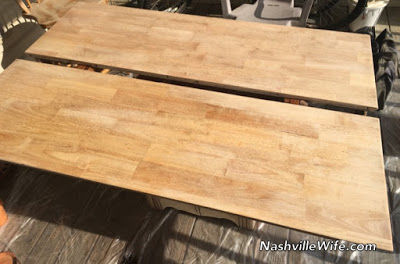
To refinish the table, I had to remove the legs and take the leaves apart.
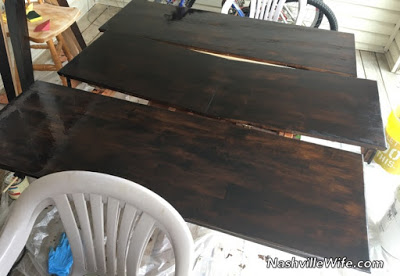
For the table and chairs, I followed the same tutorial laid out in my coffee table post, but I also applied three coats of wipe-on, clear gloss, Minwax polyurethane, to add a shiny finish.
The table alone represents many hours of work, but the chairs have by far been the biggest challenge. I have spent about eight hours on each of them (24 hours combined!). Sanding the spokes and neatly applying polyurethane and stain has been extremely time consuming, but the results have been well worth my labors.
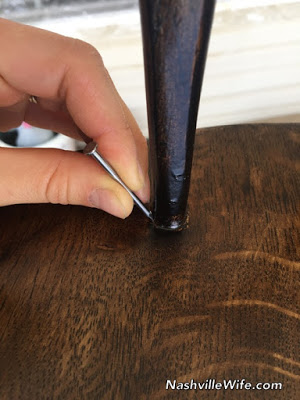
After completing one chair, I discovered that the polyurethane and stain had pooled up around the bottom of the spokes and just didn’t look right. So I completely redid that chair. From then on, I started running a nail around the bottom of each spoke about five minutes after applying each coat of polyurethane and stain, to remove the excess liquid and prevent it from pooling up. That fixed the problem.


They look fantastic! I’ve refinished a couple of tables, but I don’t think I could handle refinishing chairs like those. You were brave to take it on, and they came out great.
Wow they look beautiful! You did an excellent job. I'm getting ready to refinish my dining table and chairs and I hope mine turn out that good. It's a lot of work but a good wood dining set is worth refinishing, rather then replacing.
Great job! I don't think I can't work that hard. Have you tried marketplace on Facebook or craigslist? they usually have good deals and some furniture is new!
Thank you! I love Facebook Marketplace. I've gotten a few good deals, but I have found that you often have to look quite a few times. We purchased our first set of couches from Craigslist but decided to replace them when we moved. Our previous home had brown recluse spiders (very common in Tennessee) so we didn't want to bring them with us. LOL
Ellie
Very nice job Ellie! It will be fun to sit at that table!
Sometimes I take the bread crust and I say to myself, "Better is a dry crust of bread with love than feasting with strife." (My recall of the verse.)
So no matter what I have to serve, I hope I ALWAYS bring a heartful of LOVE to the table! And never stoop to bringing strife to the table, even if I just have ketchup soup and dry crackers. (Of course that is easier said than done but it is a noble sentiment to 'aim' live up to.)
Great job. They look lovely and brand new.
Joan,Marion and Marilyn
You worked hard and the dining table and chairs look great. Now you can serve your scrumptious meals on your beautiful table…Jane
The finish you chose is gorgeous and you did an amazing job. You have a set you can really be proud of.
You did amazing, Ellie. You were brave to tackle that. -Candi
Thank you for all the kind words. Glad to have you all as readers.
Ellie