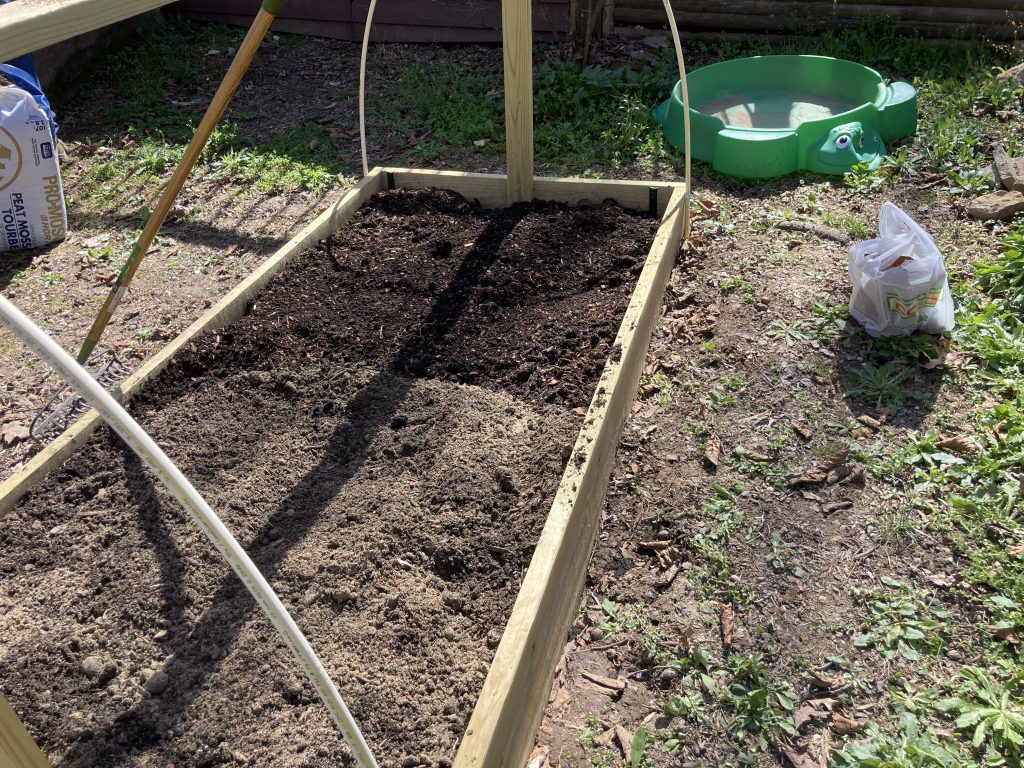
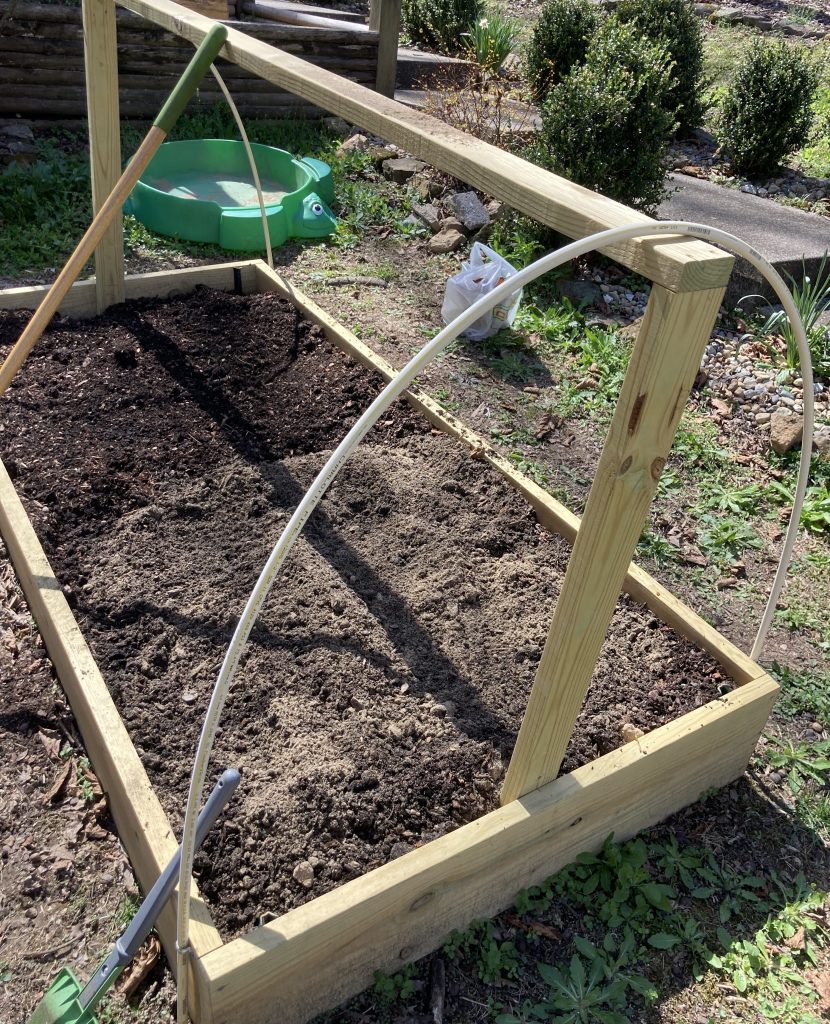
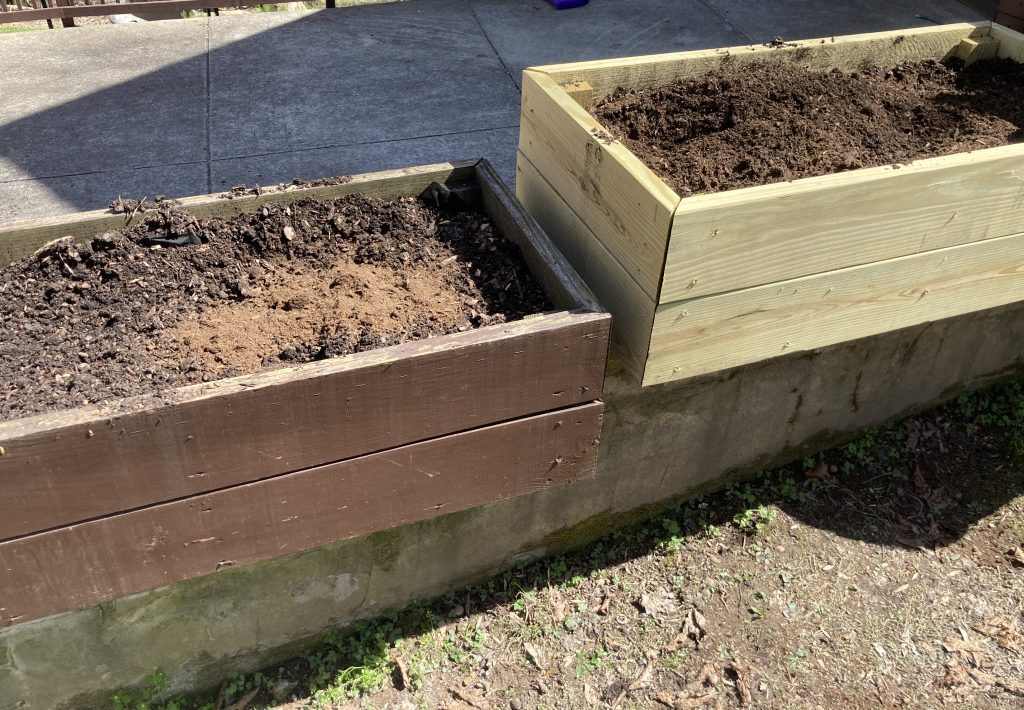
This is our second year of serious gardening. I have always had tomato plants (even back when we lived in an apartment, on our balcony), but last year, Mr. Handsome stepped up our game by building two large raised beds.
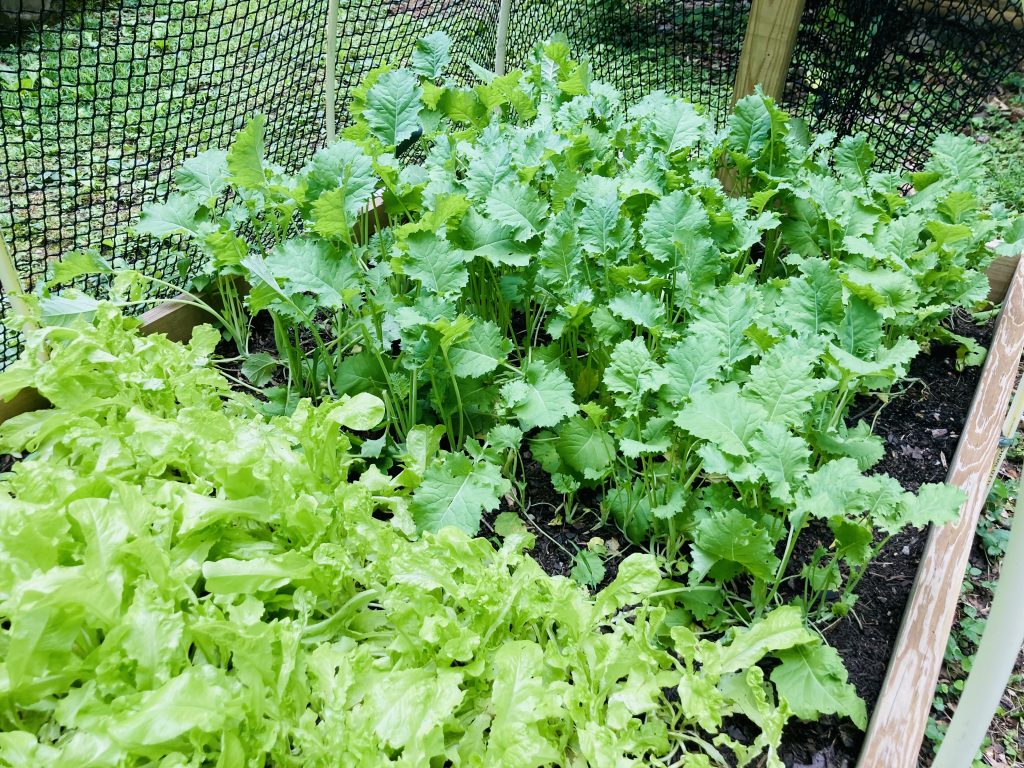
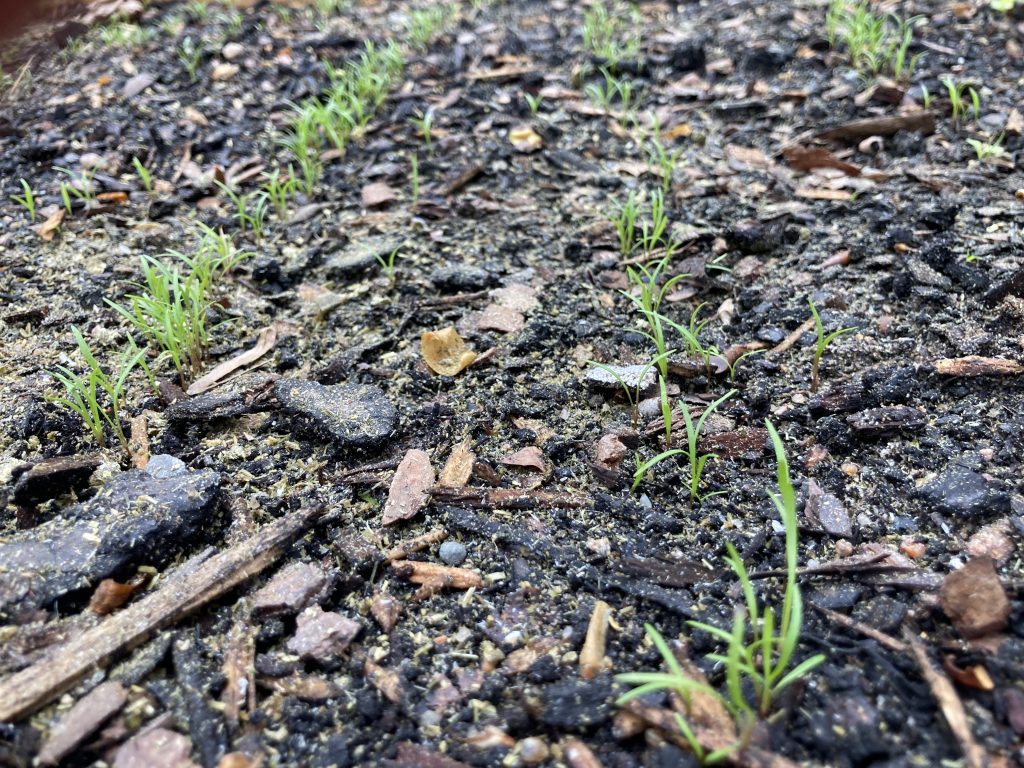
In our big beds, we planted lettuce, sugar snap peas, spinach, and kale from seed at the very end of March. We also put broccoli seeds in a pot. At the end of April, we bought small tomato plants from Home Depot and planted those in our smaller raised beds.
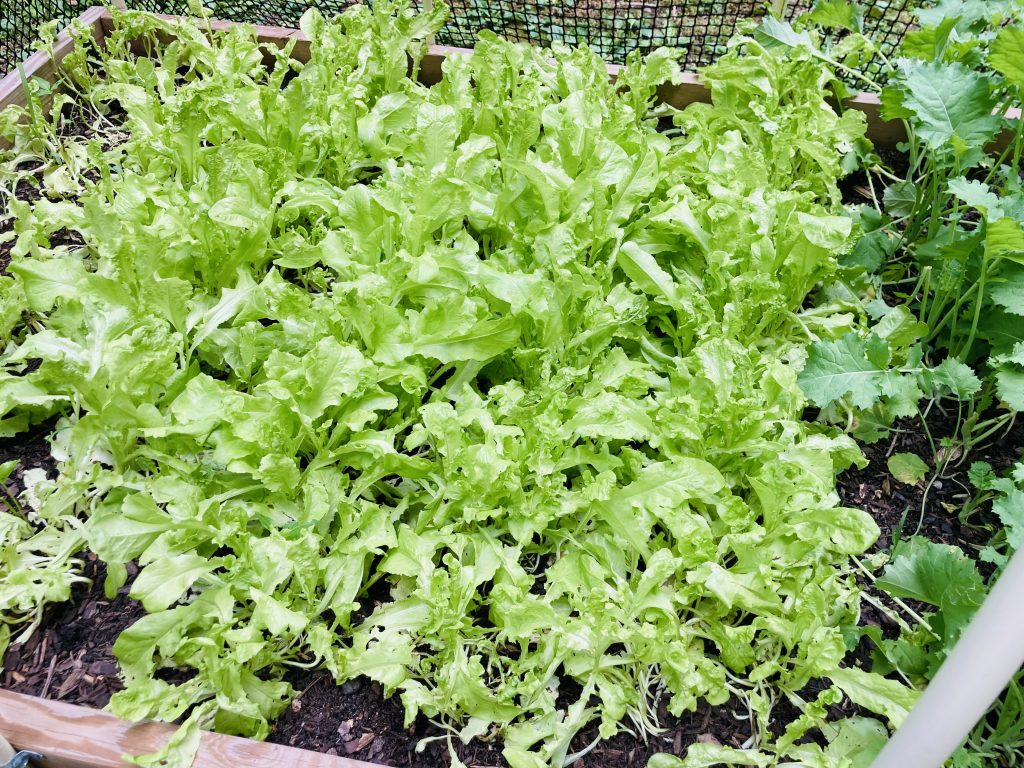
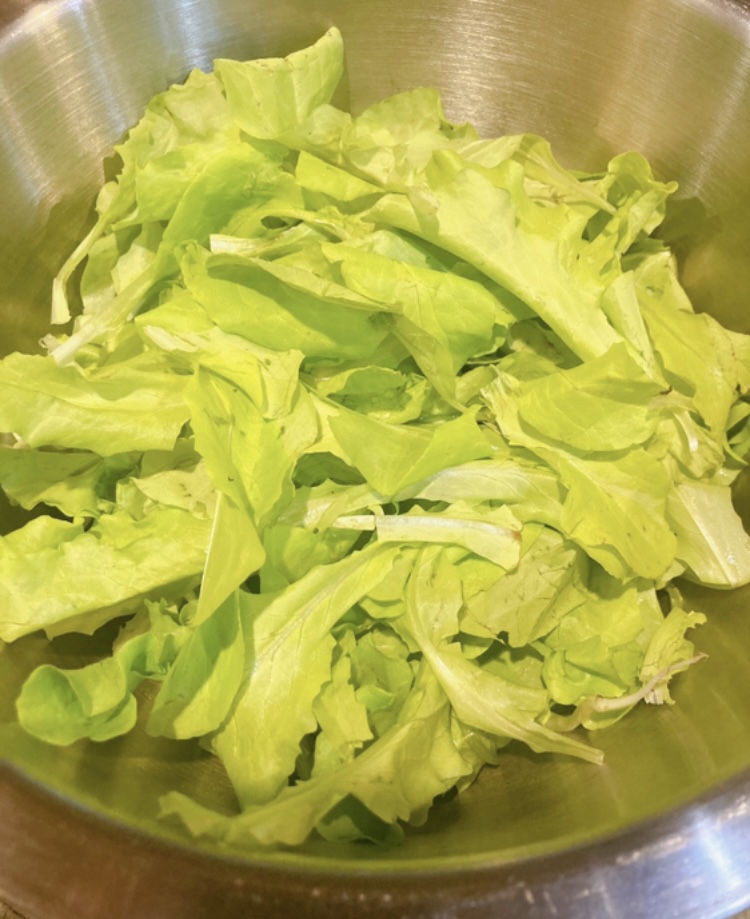
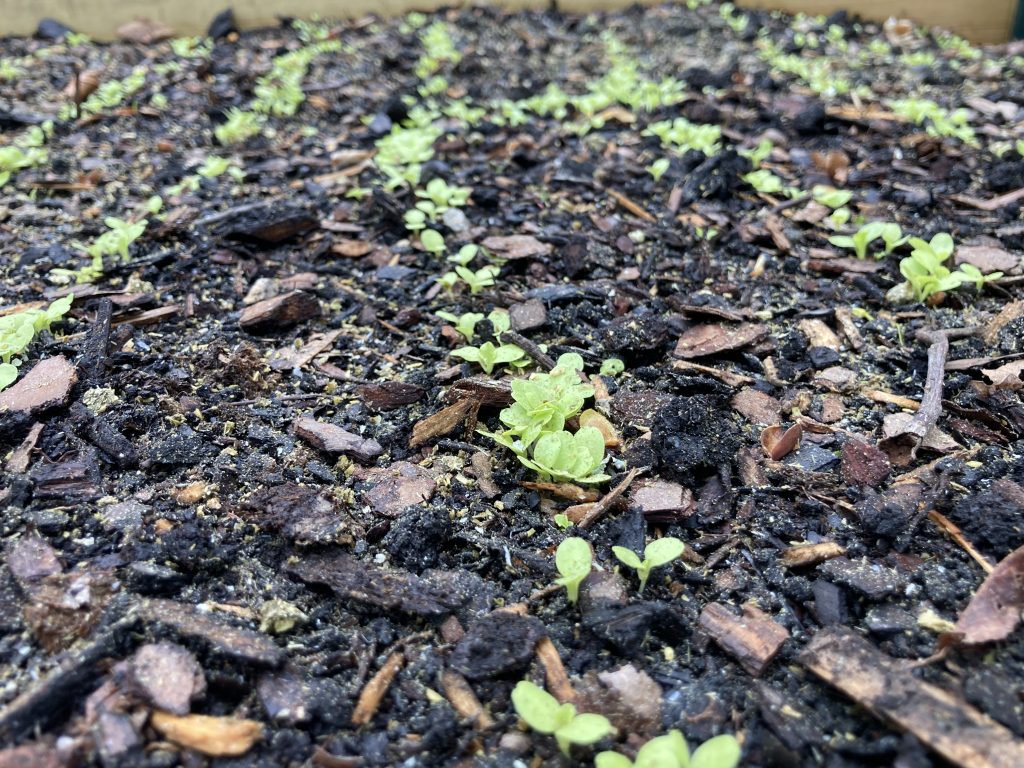
So far, everything is doing great. Our lettuce is going wild, so we have been eating salads twice a day. We are considering taking out a couple rows and planting green beans, just because we have so much.
The kale is also starting to grow quickly, so we have added sauteed kale to our dinners most nights. For that, I saute two minced garlic cloves in a little bit of oil, in a cast iron pan. Then I add the kale and another splash of oil. Once it shrinks down (about a minute) I add a half cup of chicken broth and let it cook for about five minutes. Then I season it with a dash of salt. I think it’s delicious. Mr. Handsome thinks it’s decent, but he’s hoping to find a better kale recipe. If you have any to share, let us know.


 Summer is the season of backyard BBQs and gatherings with family and friends. Fresh cut flowers make the perfect hostess gift–whether you pick them from your garden or purchase them from a grocery store or florist. But how do you keep your flowers from dying in the heat as you transport them? My mother taught me a simple trick that works wonders when your destination requires a bit of travel and you don’t want your flowers to wilt before they reach the arms of the hostess.