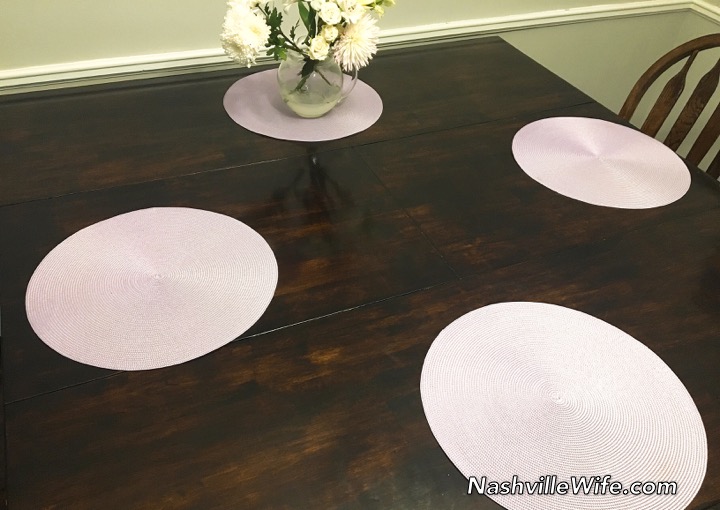
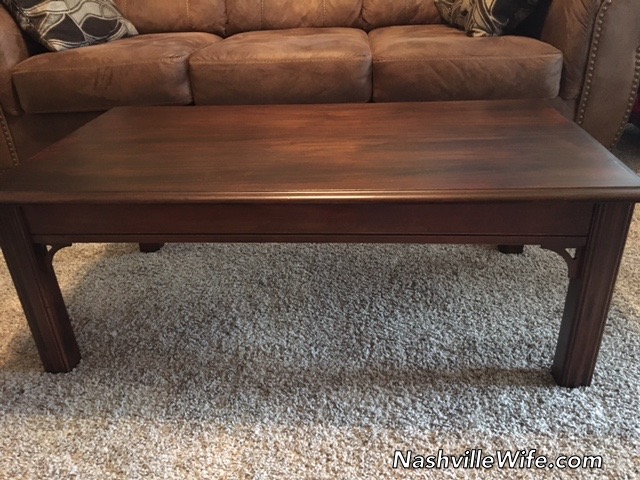
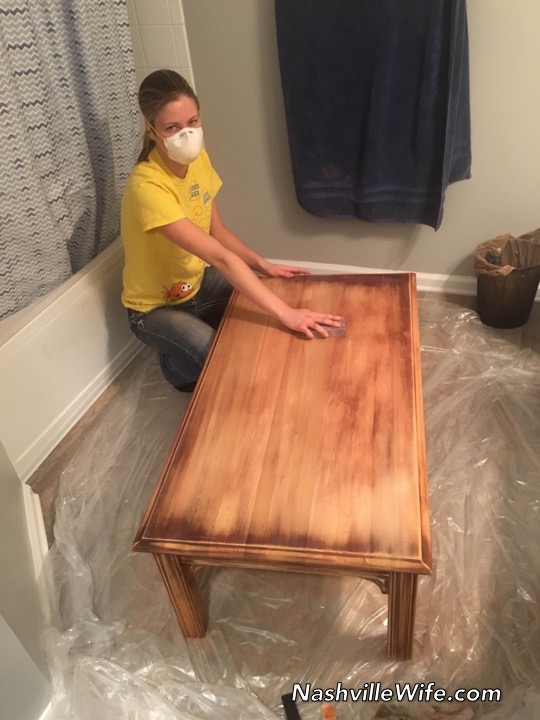
After nearly four months, I am nearing the end of my many furniture refinishing projects. So far, I have shared photos of my coffee table, the post for which doubles as a general tutorial, as well as the nightstand and bookshelf that Mr. Handsome built.Last week, I completed our dining table, and a few days ago, I finished the third chair, out of four.
coffee table
Refinishing Furniture: Coffee Table
Last summer, my sister-in-law (the one who married Mr. Handsome’s youngest brother one year ago) found an amazing deal at Goodwill: a large, solid wood coffee table for $8. It was an ugly, faded red color and was quite beat up, but the price was right, so she bought it with plans to refinish it.
A few days later, they were preparing to host four guests in their tiny, one-bedroom apartment, so my brother-in-law dropped the table off at our house. He said it was temporary, but I think he secretly hoped it would never make its way back to their place. (He’s a bit of a minimalist.)
Fast-forward to last week. It had been seven months, and the coffee table was still with us. (It lived under our covered back porch because it was just too ugly for me to allow it inside.) I looked at it one day and decided that it had been at our home long enough that it was officially ours. We didn’t have a coffee table, so I set to work fixing it up.
I’ll admit that this was my first furniture refinishing project. Before getting started, I read articles online, spoke with a woodworker friend, and talked to the friendly folks at The Home Depot. The project took about 10 hours and a lot of elbow grease, but the finished product turned out better than I could have imagined. I also didn’t have to go to the gym for a week because sanding and applying stain and polyurethane was enough of a workout, so that was a plus!
My first step was sanding the entire table with #80 sandpaper and then wiping all the sawdust away with a damp cloth. After the old finish was removed, I followed with #220 sandpaper and then wiped it down again. Below is what the table looked like when I was done. I was tempted to skip the stain and go right to the polyurethane, but I knew the light color wouldn’t match our decor.
When the table was completely dry, I applied Minwax Water Based Pre-Stain Wood Conditioner, according to the instructions on the can. The next step was the Minwax Wood Finish Penetrating Oil Based Stain (Dark Walnut 2716). I applied 2 coats, also according to the instructions on the can. The first was fairly thick because I wanted a nice, dark color, so I allowed it to dry for 24 hours. The second was thinner, so it only needed to dry for 6 hours.
The last step was the Minwax Fast-Drying Polyurethane (Clear Satin), according to the instructions on the can. I applied 3 coats using foam brushes and waiting about 4 hours between each coat.
I was so pleased with the results that I went out and bought an inexpensive random orbital sander and started another refinishing project.
In addition to the above-mentioned sandpaper, conditioner, stain, and polyurethane, I used plastic drop cloths, a mask and gloves specifically for strong chemicals, eye protection, a paint can opener, a paint stir stick, and several foam brushes in different sizes (for best results, use a new one for every step). You’ll also want to wear old clothes that you don’t care about.