How was your Easter holiday? I decided to try a new tradition this year. I’ll start by saying that I’m not typically much of a baker. We have a few favorites that I’ll make from time to time, like muffins, carrot cake, strudel, or my husband’s favorite chocolate chip cookies. But it’s not something I enjoy doing on a regular basis, and neither of us want a constant supply of sweets on the counter tempting us. Every once in a while is sufficient.
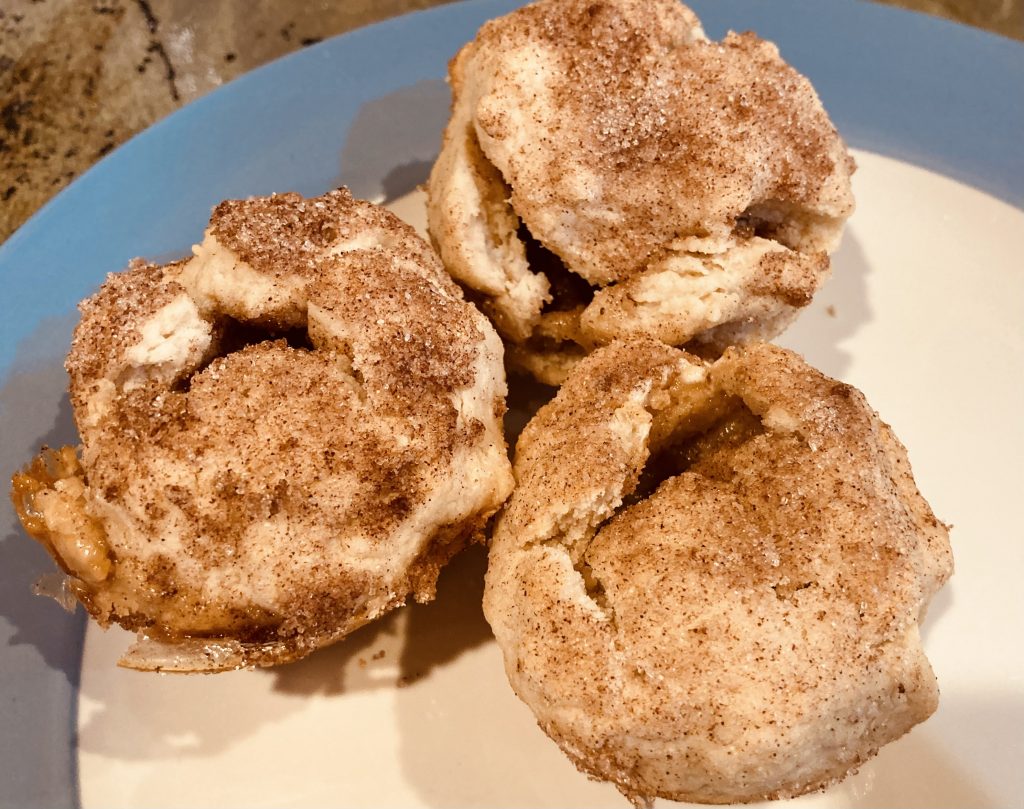
That being said, I want to create happy memories for my kids, so I decided to make homemade empty tomb rolls this Easter. I wanted them to be gluten-free, so I opted out of using the typical canned crescent rolls.
I found a great recipe from Around My Family Table that I followed almost to the letter, so I thought I would share it with you all. The only changes I made were to use regular butter instead of dairy free, regular 2% milk instead of dairy-free, regular sour cream instead of dairy-free, and regular marshmallows instead of vegan. The results were delicious, and the recipe was easy to follow.
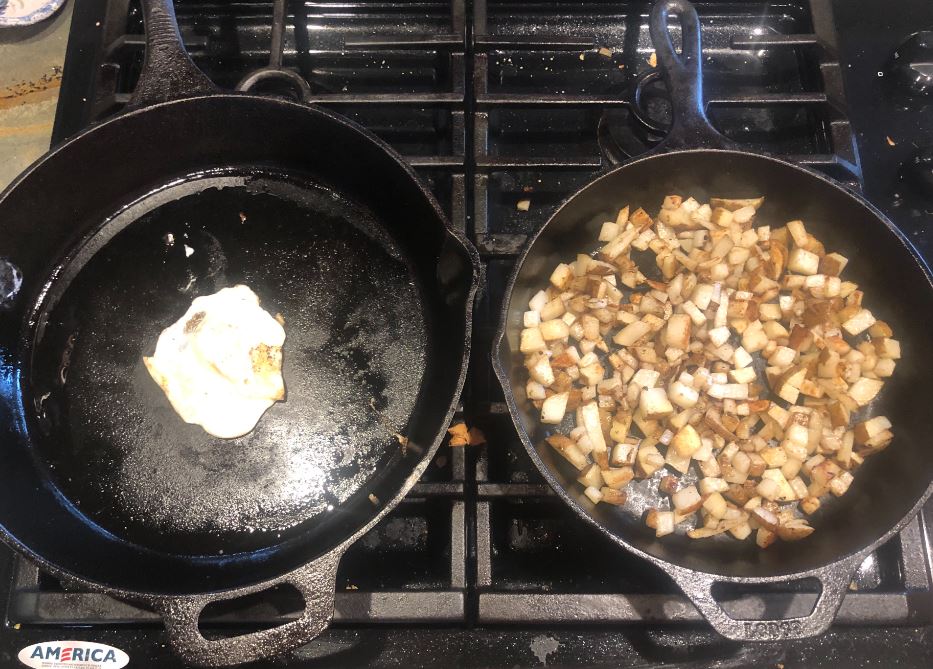


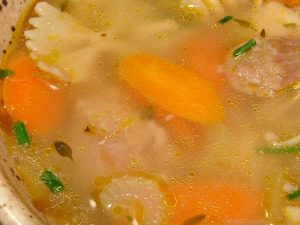 In the Northern Hemisphere, spring is underway, and summer is just around the corner (which means it’s early fall for my readers in the Southern Hemisphere, right?). Here in Tennessee, the weather is slowly warming up, but our evenings are cool, which means that soup is still an appropriate dinner food. Mr. Handsome isn’t a huge fan of chicken noodle soup because he associates it with being sick. I, on the other hand, love it, but when I do cook it, I usually try to make sure there are some leftovers in the fridge for him.
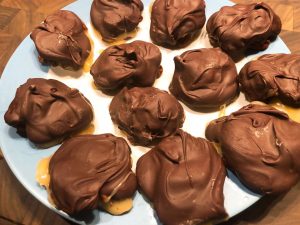
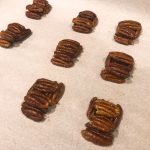
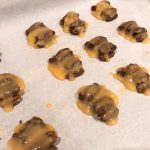
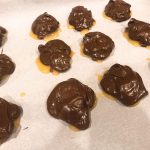
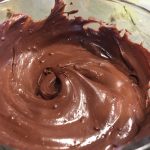
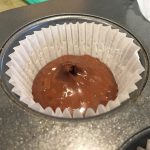
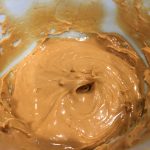
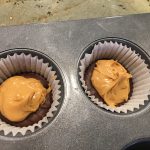
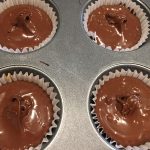
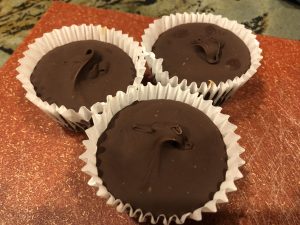 Raise your hand if you like Reese’s Peanut Butter Cups. I sure do! As far as I’m concerned, peanut butter and chocolate is one of the most perfect food combinations. When I was growing up, my dad often made homemade peanut butter cups with us. We always made some with white chocolate, some with semisweet, and some with milk. A few weeks ago, while I was still
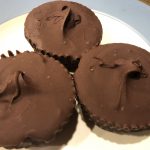

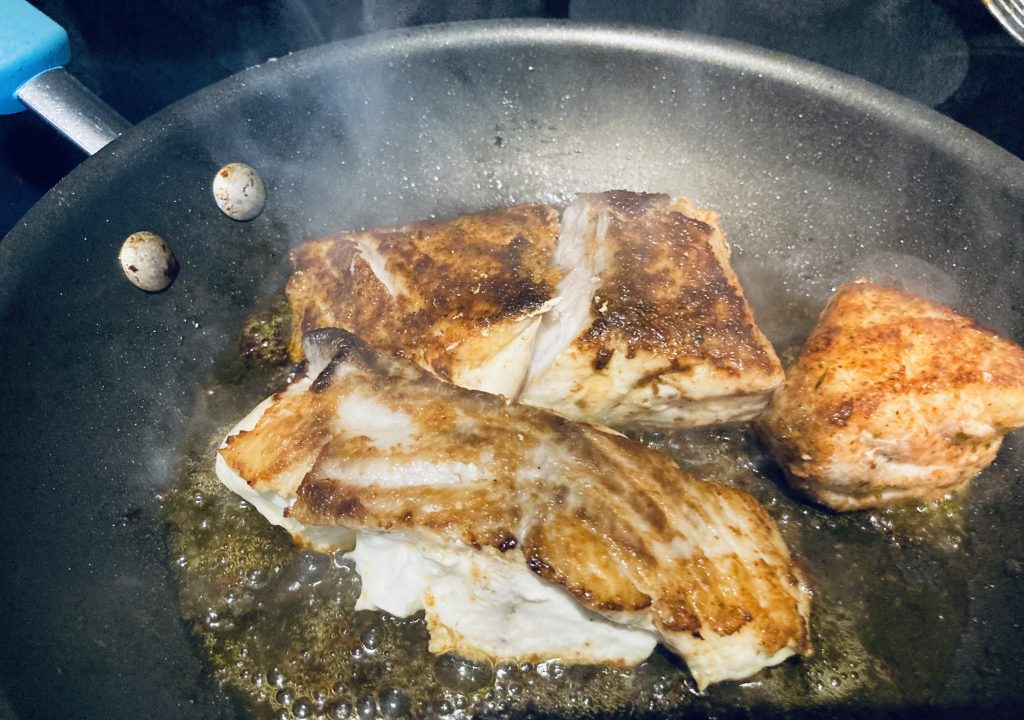
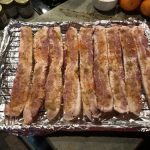
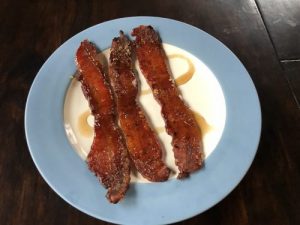 Last night was a difficult one for me because Little Buddy woke up every two hours to eat, so I’m exhausted. Wonderful Mr. Handsome came to my rescue to write a blog post. It’s a recipe that he absolutely loves, as do all the people we have made it for. Here is his post and recipe…
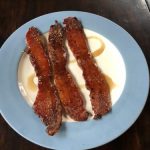

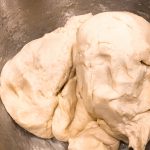
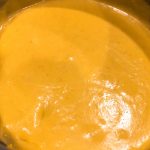
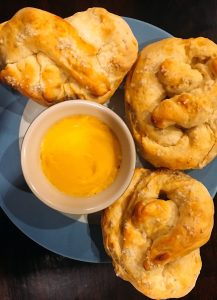 Have you ever tried Auntie Anne’s soft pretzels? Mr. Handsome is a huge fan. They have different flavors, but his favorites are the plain pretzels dipped in cheese sauce and the cinnamon sugar pretzels. With Super Bowl coming up in just a few days, I know that folks will be looking for tasty snacks to serve at their Super Bowl parties. If you’re searching for something delicious and unique that isn’t loaded with sugar, give these soft pretzels a try. Mr. Handsome thinks they taste similar to Auntie Anne’s. Below are my recipes for pretzels and cheese sauce.