It has been several weeks since my sugar-free peach canning tutorial, so Mr. Handsome and I decided to take on another project: apple butter!
We found an apple orchard that was changing owners and selling golden delicious apples for $0.50 per pound, so we decided to stock up. In just 30 minutes, we picked 70 pounds of apples!

Our KitchenAid attachment didn’t arrive on time, so my dedicated hubby spent Saturday afternoon smashing apples by hand into a mesh strainer. After two hours of work, we ended up with two pints of apple butter.
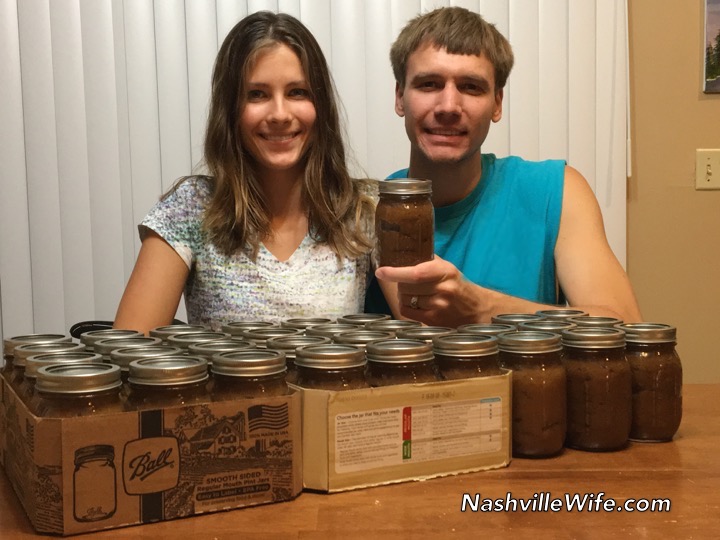
Then on Monday, Mr. Handsome came home from a nine-hour day at work and barely even sat down before joining me in the kitchen for five hours. Using the KitchenAid attachment was WAY more efficient. By the time everything was said and done, we had made 35 pints of apple butter.
Working on the project with my man was a blast. He spent the first 11 years of his childhood on a 75-tree orchard and has lots of great memories making apple butter, applesauce, and apple cider with his family.
And now for the tutorial! 🙂
Step 1: Load apples into the kitchen sink, and rinse. You will also need to sterilize your jars. This time, we ran our jars and rims through the dishwasher sterilize cycle and washed the lids in hot, soapy water. (We used pint-sized jars.)
Here is a note from the Ball/Kerr website
on sanitizing your canning lids: “Our Quality Assurance Team performed
comprehensive testing to determine the need for pre-heating lids.
Ultimately, we determined that it’s completely safe to skip pre-warming
lids in the canning process. While it’s still safe to simmer your lids
before use, you should never boil them. Our recommendation for over 40
years has always been to simmer (180°F) – not boil (212°F) – the lids.”

Step 2: Chop apples into quarters, and add to a pot of boiling water.

Step 3: Boil gently until soft, and remove from water using tongs. (We transferred ours into a colander with a bowl underneath to catch drips.)

Step 4: Process apples using the KitchenAid Food Grinder and Fruit/Veggie Strainer attachment.
If you don’t have a KitchenAid, you can smash apples through a mesh strainer by hand. Another method is to peel, core, and quarter the apples before boiling and then run them through a food processor after boiling.

Step 5: Dispose of core/peel waste, and transfer applesauce to a large pot. Add the following ingredients per ten cups of applesauce:
1/2 teaspoon cloves
1-1/4 teaspoons allspice
1/2 teaspoon ginger
4 teaspoons cinnamon
3/4 cup brown sugar
1/3 cup molasses
2 Tablespoons apple cider vinegar
1/4 cup white sugar
Bring mixture to a boil, stirring constantly. When apple butter is HOT, remove from heat, and add to HOT, sterilized jars using a clean spoon. (Jars should be sitting on a clean towel while filling with apple butter.)
Leave 1/4 inch of empty space at the top of each jar. Using a clean knife, remove any visible air pockets.

Step 6: Wipe rims of jars with a clean towel to remove any drips. Place lids on jars, and screw rims on firmly (not too tight). Using a jar lifter/canning tongs ($3.00 in the Walmart canning aisle), load jars into waterbath canner (or a large pot that is tall enough to allow jars to be covered with 1-2 inches of water). Jars should not touch each other.
Bring to a boil, and boil for 10 minutes. If you live at an altitude of 1,000 feet or greater, you
will need to add to the processing time. Click here to see the Ball/Kerr altitude chat.

Use tongs to remove jars, and place undisturbed on a towel for 24 hours. (Make sure jars don’t touch each other.)
Lids should seal within 30 minutes. To check if they have sealed, press
down on each lid. If they don’t bounce back, they are sealed properly.
Jars that don’t seal within 24 hours should be refrigerated and eaten
within 7 days.
Have you ever made apple butter?