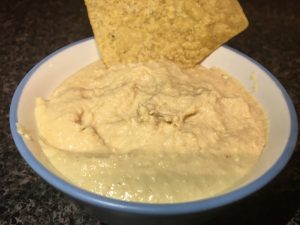
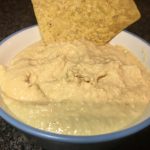
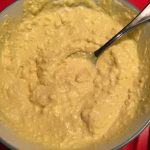
How many of my readers are hummus fans? I sure am! Last week, I was randomly craving chips and hummus after having gone several months without having any. The Walmart brand was decent, but after finishing the entire tub in one week, I decided to make my own. The recipe I came up with was leaps and bounds better than store-bought.
Homemade Hummus
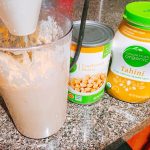
Ingredients
- 1-15 oz can garbanzo beans
- 1/4 cup tahini often found in the international aisle
- 1/4 cup lemon juice
- 1/4 teaspoon garlic powder
- 1/4 teaspoon ground cumin
- 2-1/2 Tablespoons olive oil
- 4 Tablespoons water
- 1/4 teaspoon salt
- 1/8 teaspoon paprika
Instructions
-
Combine ingredients, and blend using an immersion hand blender--such as a Bamix--until creamy. (Food processors and regular blenders work, as well.)
-
Store in the refrigerator. Serve with chips or veggies.


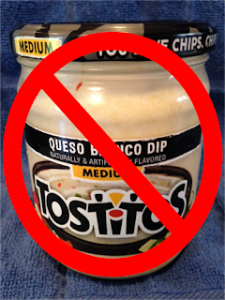 My husband is a big fan of queso dip. His favorite used to be Tostitos® Salsa Con Queso, until he discovered Tostitos® Queso Blanco a few months ago. It is the only thing he will eat with tortilla chips. During a Walmart shopping trip two weeks into our marriage, Mr. Handsome picked up a bag of chips and a container of Tostitos® Queso Blanco. I quickly glanced at the ingredients and cringed. I checked the shelf for healthier alternatives but found none.